Your dashboard area is similar to your Home Page settings - we will have already set this up for you but you are welcome to amend anything.
Log In to the Dashboard
Visit your admin link (for example: yourdomain.com/admin/) and log in using your details.
Once inside, you will see the dashboard menu on the left.
Your dashboard content is managed through specific editable fields. You cannot move or delete sections, but you can safely update text at any time.
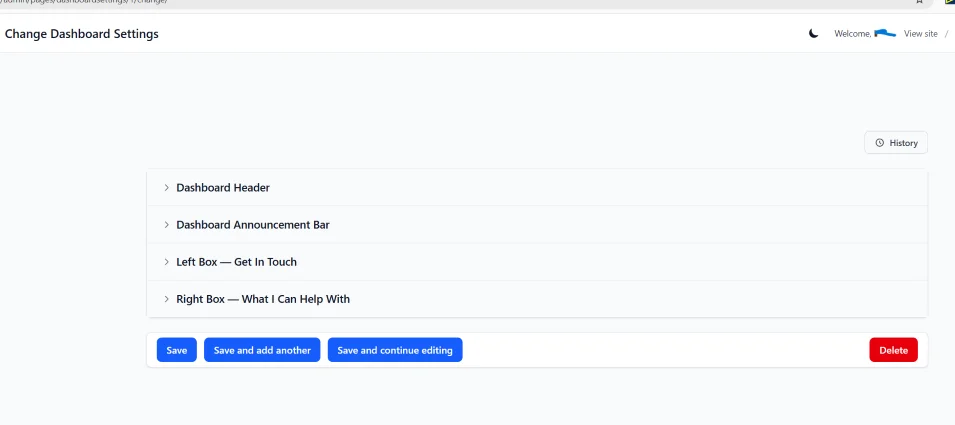
Locate the Dashboard Content Section
In the left-hand menu, click Dashboard Settings (you will find it under the PAGES tab). When you click on that you will see a page with your welcome message, click to edit it. Once open you will see editable fields such as:
Welcome heading: You may have kept the default word Welcome, [CUSTOMER NAME APPEARS] or you may have changed it to Hello or whatever you prefer. This is where you update it.
Next will be the message you want them to read. Keep it brief. The default message is "Here’s an overview of your account and quick access to your saved items."
Next is the information that appears on your customer support page. This page is only visible from the dashboard area for registered users. You can update the information included on that page.
After making your amendments click Save.
Support Requests
In the same ACCOUNTS area at the very top of the menu you will see the Support Requests area. If anyone sends a message through the contact form a copy will be saved here so you should check this regularly.
If you have set up your Page Settings with your email address, you should also receive an email to whichever email addresses you enter into your site settings letting you know a message has been left.
Logged-in customers can send you a message through the support form on their dashboard. Every message is saved in your store and the customer automatically gets a confirmation email. This guide shows you where those messages go and how to work through them.
Where support messages land
When a customer submits the support form, their message is saved as a Support Request in the Django admin, under Accounts › Support requests. Nothing is sent to a separate inbox or third-party tool — everything lives in your admin so you have a single record of who asked what and when.
What each request contains
Open any request to see the customer's email address, the subject they chose, their message, and the date it was sent. The customer's name and email are captured automatically from their account, so you always know who you are replying to even if they forget to mention it.
These fields are read-only on purpose. The record is a faithful copy of what the customer sent and is not meant to be edited.
The handled workflow
Each request has a handled checkbox. New requests come in unhandled. Use this as your simple to-do list: once you have dealt with a message, open it and tick handled, then save. You can filter the list by handled status to see at a glance what still needs your attention.
Replying to a customer
There is no reply button inside the admin — you respond using your normal email. The request shows the customer's email address, so reply to them directly from your store's support email account. After you have answered, mark the request as handled.
The automatic confirmation email
As soon as a customer submits the form, your store emails them a confirmation that includes a copy of their own message, so they know it was received. This relies on your store's email being configured correctly. If customers report that they never get a confirmation, check your email setup (see Account emails and deliverability). A failed confirmation email never blocks the request itself — the message is still saved for you to see.
Video on managing your dashboard settings is here