Plain text with a few headings and bullet points used to be enough for a blog post. Readers now expect tables, comparisons, checklists and video in the middle of an article, the way they get them on Substack. Djangify blog posts are stored as HTML, so you can have all of that without changing your blog app or installing a plugin. This article is a working example. Every box, table and layout on this page is a Djangify content block, and each one comes with a prompt you can give to any AI assistant to get it.
This is not a Claude-only feature. ChatGPT, Claude, Gemini, Codex or any other AI assistant can write these blocks, because the blocks are plain HTML and one skill file explains how each of them is built. I use Claude Code myself because it can open my files and edit posts directly, but you can hand the same skill file to any AI and get the same result.
- Long-form articles give search engines and AI tools more to match against a question, and give readers a reason to trust you.
- A long article only works if it is easy to move through. Content blocks break up the text so it never reads like a wall.
- Djangify posts and pages are HTML, so you can paste a block straight in or ask any AI assistant to add one for you.
- Blocks work well beyond blog posts: on info pages, product pages, page sections, topic cluster pages and tool pages.
- You do not need every block. Two or three that fit the article are enough.
Add a Key Takeaways block at the top of this article. Write 3 to 5 bullets that sum up the main points in plain language.
Add a Contents List block at the top of this article. Link each item to the matching H2 heading and give every H2 a matching id.
Why long-form content works for search
Search engines try to match a page to a question. A short post answers the main question and stops. A long guide answers the main question and the follow-up questions a reader asks right after it, which gives search engines and AI tools more to match. It also gives you room to link to your own related posts, which helps readers and crawlers find the rest of your work.
Length is a result, not a target. A 2,000 word article that repeats itself will not beat a 900 word one that gets to the point. The aim is to cover the topic properly, then make that coverage easy to move through.
| What you are comparing | Short post | Long-form guide |
|---|---|---|
| Questions answered | The main one | The main one plus the follow-ups |
| Room to show experience | A line or two | Examples, mistakes, results |
| Internal links | One or two | Several, in context |
| Best for | A quick answer or an update | A topic you want to own |
Turn the text below into a Comparison Table block with a caption, a header row and a bold first column. Keep every cell short.
Add a Facts Row block with three facts from the text below. Each fact is a short number or word plus a label of five words or fewer.
Why E-E-A-T needs room to show
Google describes the quality of a page using experience, expertise, authoritativeness and trustworthiness, usually shortened to E-E-A-T. Those signals are hard to show in 300 words. They show up in the details: what you tried, what went wrong, what the result was, and who you are.
A long article earns its length when each section answers a question the reader would otherwise have to leave the page to ask.
Turn this sentence into a Quote block with a light background and a left border. Add the speaker's name underneath: [name].
What a long article can carry
Signals for search
- Clear headings that match real questions
- Links to related posts
- Answers to follow-up questions
Signals for readers
- Your own examples and results
- Honest limits and mistakes
- Your name, bio and sources
Turn the text below into a Two Lists block. Give the section a title, then two boxes, each with a short heading and three to five bullets.
Your blog is already HTML
When you save a Djangify blog post, the text is stored as HTML, and the page shows exactly that HTML. A table is a table tag. A box is a div with a class. Nothing converts it into something else on the way out, which is also why search engines can read every word and every link in it.
The content blocks are a set of ready-made layouts. Each one has a name, a small piece of HTML, and styling that already ships with your Djangify shop and follows your theme. You choose a block by name, your AI assistant writes the HTML, and you paste it in or have the AI add it to the post for you.
Blocks work best in long articles, where they break up the text. They also work in short posts, on info pages and in several other places covered below, so use them anywhere a plain paragraph would do the job less well.
Turn this sentence into a Callout block with a short label above it. Use it for a tip, a warning or one key point.
To publish the post you need to write the text, check the headings, add the images, set the category, write the summary, add the meta description, check the links, preview it on your phone and then press publish.
Write the text. Check the headings and links. Add the images and the summary. Preview it on your phone. Publish.
Turn the two versions below into a Before and After block. Put the original text in the Before panel and the improved text in the After panel.
What HTML can do on an info page
Blocks are only the start. Djangify info pages store HTML too, so a page can be built as a small interactive tool, not just a column of text. The install guide for the Self-Hosted eCommerce Builder is a live example. It is one info page, and it is the kind of page you can ask an AI assistant to make for you. It walks a buyer through fourteen steps, with a progress bar, a Windows and Mac switch, copy buttons on every message and command, fold-outs that hide the detail until you want it, and a Done tick on each step that moves you on to the next.
See an info page that works like an app
The install guide takes a buyer from unzipping the code to a live shop, one small step at a time. Tick a step when it is done and the guide moves on to the next one. Your ticks are saved in your browser, so a refresh keeps your place. They stay in that browser on that device, so clearing your browser data or switching devices starts the guide again from step one.
Open the install guide →Everything in that guide is HTML and a short script, written once by an AI assistant from a description of the steps. You can do the same for a setup guide, a course checklist, an onboarding page or a troubleshooting walk-through.
The tick boxes and the progress bar run on a small script. The visual editor removes scripts when you save, which would switch the interactive parts off. Add and edit a page like this through your AI assistant and the Djangify MCP connector, not in the visual editor.
Build me a step-by-step guide as one HTML info page. Each step has a title, a short plain-language explanation, any message or command the reader should copy, and a Done tick. Show a progress bar at the top and save the ticks in the browser so a refresh keeps them. Use the Djangify Content Blocks skill file for any boxes, tables or checklists.
Where you can use them
Blocks are not limited to blog posts. They work in every rich text area of Djangify that is shown with the standard page styling, which covers most of the places you write.
Places you can use content blocks
- Blog postsEvery theme, and every content type including long articles and short bites.
- Info pages and policiesGuides, docs and help pages. They build their own contents sidebar, so a Contents List is rarely needed there.
- Product pagesThe main description and the long description, in both the standard and landing layouts, including the fold-out description.
- Page sectionsHero, Text, Two Column, Two Column Text, Three Column, Content Blocks, Features, FAQ and CTA sections, plus the intro of a questionnaire. This is how you add a block to a homepage or a sales page.
- Shop page sectionsThe hero text, the section text, the intro text and the three-column text on your shop page.
- One-time offer pageThe offer body, which is the main text of the page.
- Topic cluster pagesThe intro, the about this guide box, the definition, the why it matters text, every section body, and the product, download and reflection text.
- Hosted tool pagesThe description and the more-info text.
Turn the list below into a Checklist block with the primary theme shade as the background. Give each item a bold line and a short line of detail.
A few areas show your HTML but do not carry the block styling yet. These are the Text with Video section, the newsletter intro, the blog intro on the homepage, and the dashboard messages. Put the block in a Text section near them instead. Emails cannot use blocks at all, because email apps ignore the stylesheet.
On a product page, a comparison table or a Facts Row does a lot of work, because buyers compare before they buy. A FAQ block answers the objections that stop a purchase, and a Product Box gives a clear next step.
Not on Djangify? Use them anyway
The blocks are ordinary HTML with a small stylesheet, so they are not tied to Djangify. If your site, blog or page accepts HTML code, you can use them. That includes WordPress (in a Custom HTML block), Ghost, Webflow, Shopify pages, or a hand-built site. The skill file works with any AI assistant, so give it to whichever one you use.
- Add the stylesheet onceLink it in your page head or paste it into your site's own CSS.
- Wrap your contentPut your article inside a div with the class page-content.
- Paste the blocksAsk your AI assistant for a block by name and paste the HTML where you want it.
The stylesheet starts with a short list of theme shades at the top. Change them to your own brand shades and every block follows. The Copy button script is optional: without it the Prompt Box still shows the text, and readers can select and copy it by hand. The skill file already contains both the stylesheet and the script, so one download covers everything.
Some visual editors delete any tag or class they do not allow when you save. If that happens, a block loses its box or its styling. The Djangify editor allows every block in this article. On another site, paste one block into a draft, save it, open it again and check it is still there before you build a whole article. If the blocks vanish, add them through the page's HTML or source view instead of the visual view, and avoid re-saving the page in the visual editor afterwards.
I do not use Djangify. Here is the HTML for my page: [paste]. Use the Djangify Content Blocks skill file and the standalone stylesheet to add a [block name] block, and tell me exactly where to paste the stylesheet.
How it looks on a phone
Most readers will open this on a phone, so every block rearranges itself for small screens. Two-column layouts stack, tables scroll sideways inside their own box, and videos keep their shape. Open this page on your phone and scroll back up to check.
Images can sit in a gallery too. Here are three quote cards from the Self-Talk Effect gallery. Tap or click any image to see the full size, then tap again to close it.
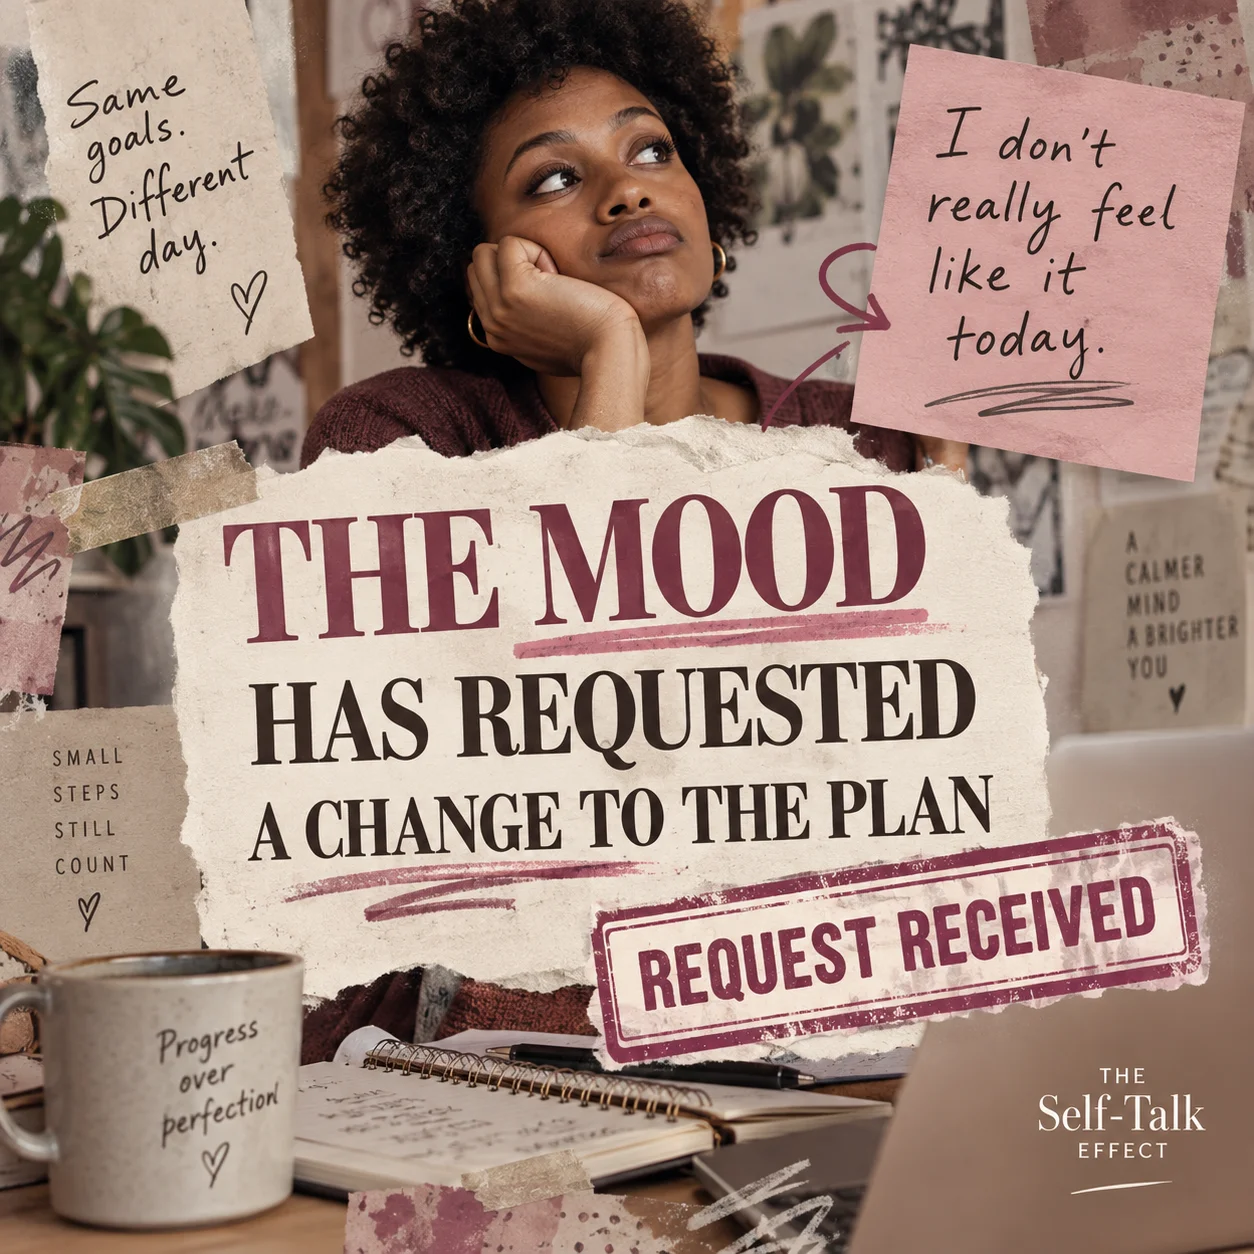

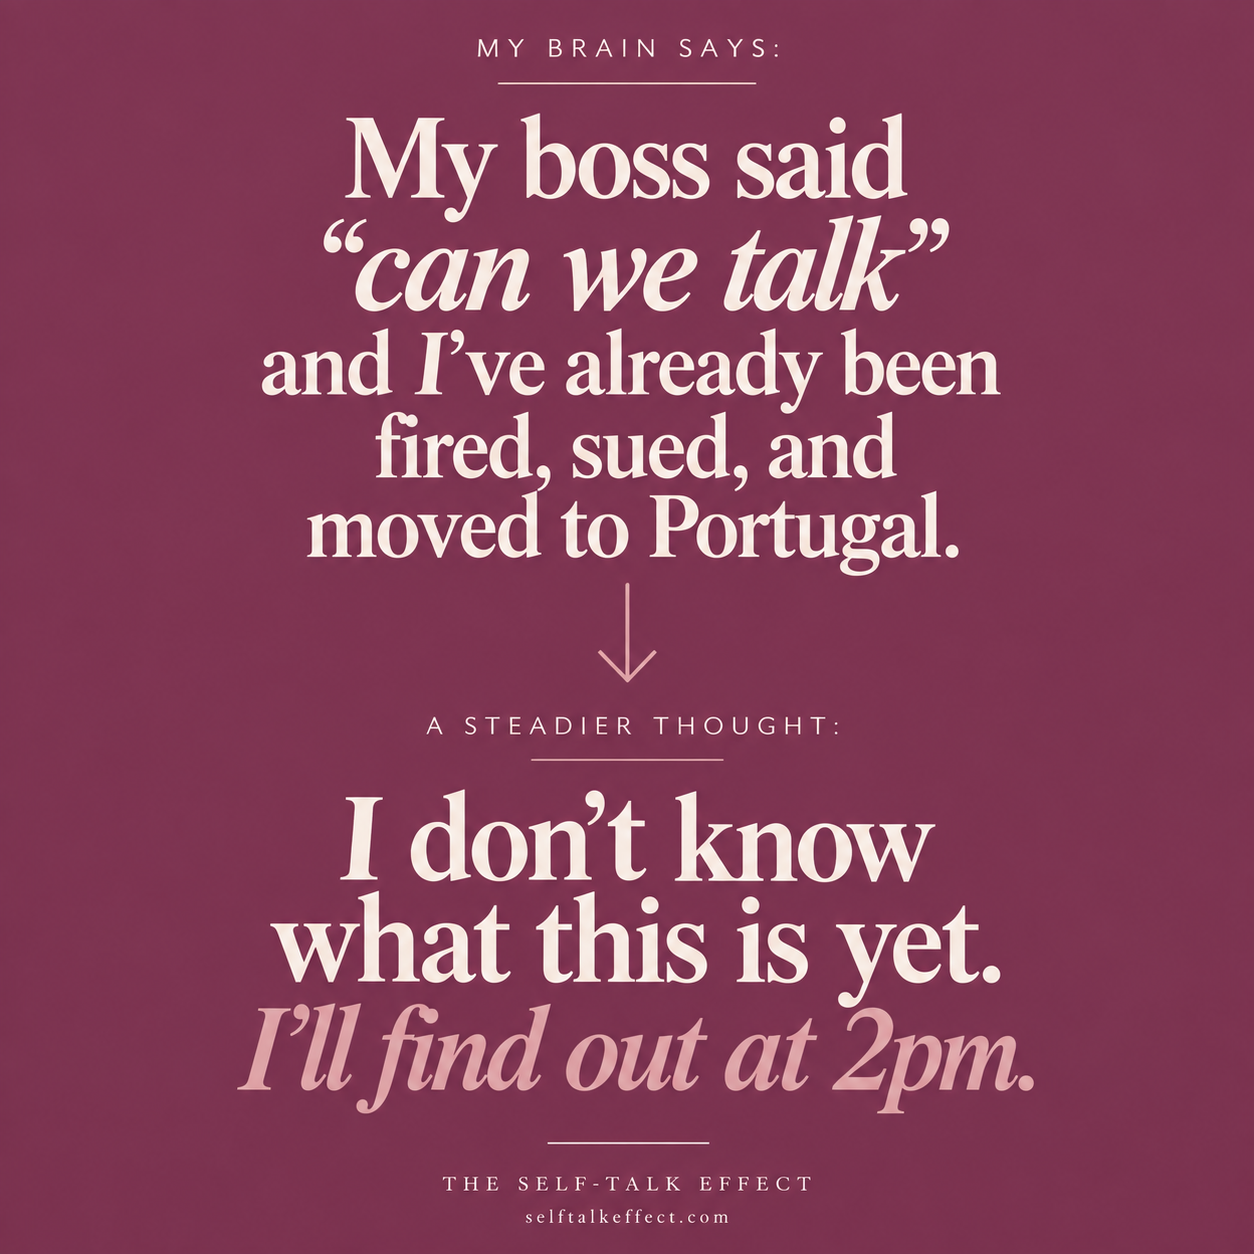
Build an Image Gallery block from these three image URLs: one large image on the left and two stacked on the right. Write alt text for each image that describes what is in it. Make each image open full size when clicked, and give every lightbox id on the page a unique name.
Video works the same way. On a large screen a landscape video and a vertical Short sit side by side at the same height. On a phone they stack, with the Short in the middle below the video.
Add a Video block for this YouTube link: [link]. Use the landscape layout for a normal video and the portrait layout for a Short. To show a landscape video with a Short beside it, use the Video Pair layout. For two or three landscape videos, use the Video Grid layout.
The full set of blocks
The blocks you have already seen are Key Takeaways, Contents List, Comparison Table, Facts Row, Quote, Two Lists, Callout, Before and After, Image Gallery and Video. These are the rest.
Numbered Steps are for anything a reader does in order.
- Write the articleGet the whole thing down first, without worrying about layout.
- Pick the blocksLook for places where the text is a list, a comparison or a sequence.
- Ask your AI by nameGive it the block name and the text, and paste back what it returns.
- Preview on your phoneCheck that tables scroll and nothing runs off the screen.
Turn the text below into a Numbered Steps block. Give each step a short bold title and one sentence of detail.
A Checklist is the same idea, with the primary theme shade behind it so it stands out from the page.
Your block checklist
- Every image has alt textDescribe what is in the picture, in a sentence.
- Every heading used in the contents list has an idOtherwise the link has nowhere to jump to.
- Tables read well on a phoneScroll them sideways and check the first column.
- No more than three blocks per screenBlocks break up text. Too many break up the article.
Turn the list below into a Checklist block with the primary theme shade as the background. Give each item a bold line and a short line of detail.
A Prompt Box holds text that a reader should copy, such as a prompt, a command or a snippet of code. Every box on this page that starts with "Ask for this" is one.
Put the text below into a Prompt Box block with a Copy button, so a reader can copy it in one click.
A Link Row is a set of buttons with small icons, useful for a channel, a download, a shop page or a sign-up.
Add a Link Row block with these links: [label and URL for each]. Choose an icon for each one from play, mail, download, arrow and book.
Which blocks to use, and which to skip
You do not need every block in every article. Long articles gain the most from them, but two or three that fit are plenty. A good rule is to look at your draft and ask what each section is. If it is a list, use Steps or a Checklist. If it compares two things, use This vs That or a Comparison Table. If it holds a number, use Facts Row. Anything else can stay as a plain paragraph.
Use a block when
- The text is a list, a sequence or a comparison
- A reader might want to copy something
- You want a key point to stand out
Skip it when
- A paragraph says it clearly already
- You have used three on the same screen
- It would repeat the block above it
Turn the text below into a This vs That block with two side-by-side boxes, each with a short heading and three bullets.
How long should a long-form article be?
Long enough to answer the main question and the follow-up questions a reader would ask next, and no longer. For most topics that lands at 1,200 words or more, and a thorough guide can run to 2,500 words or beyond. A better test than a word count is to read your headings in order. If each one answers a real question, the article is doing its job. If a section repeats a point you have already made, cut it.
Length helps because it gives you room to show real experience, link to your own related posts and cover the topic fully. But a padded 2,000 words will not beat a focused 900. This is where blocks earn their place: they let a long article stay easy to scan, so a reader can find the part they need without wading through everything else.
Can Google read the blocks?
Yes. Every block is plain HTML in the page itself, so search engines read it the same way they read any other part of your article. Headings, lists, tables, links and image alt text are real elements, not pictures of text. Even the FAQ boxes that open and close are ordinary details and summary tags, and their answers sit in the page code where a crawler can see them.
Two things are worth knowing. First, blocks are layout, not structured data, so they do not add FAQ or product markup on their own. If you want that, add it separately. Second, an image gallery only helps search when each image has descriptive alt text, which is why the skill file insists on it. The contents list uses real links to real heading ids, which also helps search engines see how your article is laid out.
Do blocks work on info pages, product pages and other pages?
Yes, in many more places than blog posts. Blocks work in blog posts of every theme and type, in info pages and policies, and on product pages in both the main description and the long description, in both layouts. They work in the page sections Hero, Text, Two Column, Two Column Text, Three Column, Content Blocks, Features, FAQ and CTA, and in the intro of a questionnaire, which is how you add them to a homepage or a sales page. They work in the hero, section, intro and three-column text on your shop page, and in the body of the one-time offer page. They work on topic cluster pages in the intro, the about this guide box, the definition, the why it matters text, every section body, and the product, download and reflection text. They also work in the description and more-info text on hosted tool pages.
A few areas show your HTML but do not carry the block styling yet: the Text with Video section, the newsletter intro, the blog intro on the homepage and the dashboard messages. Put the block in a Text section near them instead. Emails cannot use blocks at all, because email apps ignore the stylesheet. And because blocks are only HTML and one stylesheet, they also work on any other website that accepts HTML, as the section above explains.
Do I need to know HTML?
No. Give your AI assistant the block name and your text, and it returns the HTML. You paste it into the post, or, if your AI is connected to your shop through the Djangify MCP connector, it can edit the post for you directly. The skill file tells the AI exactly which classes to use, so you do not have to check its work line by line. Preview the page on your phone before you publish.
Do I need Claude to use these?
No. Any AI assistant can use these blocks: ChatGPT, Claude, Gemini, Codex or another. Hand it the skill file and your text, and ask for a block by name. Claude Code is my personal choice because it can open my project, edit a post directly and check the result, but a plain chat window works too. You just paste a little more. If your AI cannot connect to your shop, it returns the HTML and you paste it in yourself.
Turn the questions and answers below into a FAQ block with open-and-close boxes. Keep each answer to two or three sentences.
Blogging Still Works: Why Search-Led Articles Still Drive Traffic
A blog post keeps working long after a social post disappears.
Read more →What Happened When Google Deindexed Over 100 of My Articles
What happened when AI-written articles were pasted in without being changed.
Read more →Use AI, Don't Just Accept It
How these articles actually get written, and what changes between draft and publish.
Read more →Add a Featured Articles block with these three posts: [titles and URLs]. Show a title, one sentence and a Read more link for each.
Own Your Digital Shop Outright
The Self-Hosted Digital eCommerce Builder gives you the full Djangify codebase, checkout, delivery, customer accounts, blog and SEO tools, including every content block in this article, on your own hosting for one payment.
See the Self-Hosted Builder →Add a Product Box block with the primary theme shade as the background. Use this heading, text and button link: [heading], [text], [link].