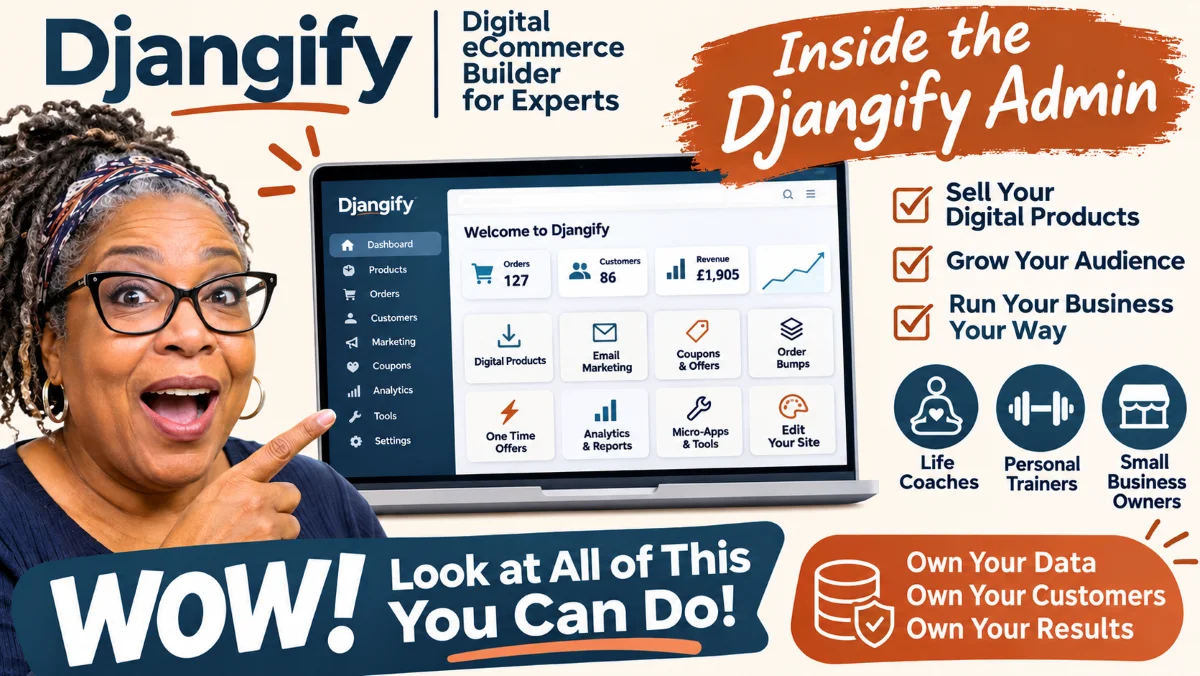
If you sell digital products, the admin is where most of your work happens: adding products, checking orders, writing articles and setting up free tools. I recorded a walkthrough of the Djangify admin on the demo site, and this post follows it section by section with the time each part starts.
- The admin in the video is the demo at demo.djangify.com. The orders and people in it are demo data, not real sales.
- The first thing an owner sees is a help area, including files you can upload to your own AI to be walked through setup.
- Every area of the admin has its own help video and documentation, so you only need to watch the parts you use.
In this tour: Welcome | Owners Help | Checklist and Shop Setup | The sidebar | Products | Orders and stats | Hosted tools | Buy a demo product | Blog posts | Policies | Help and documentation | Why I built it
Welcome and the two ways to run Djangify (0:00)
I am Diane Corriette, the founder of Djangify, the ecommerce builder that lets you sell digital products. There are two ways to run it. Self-hosted means you host it in your own hosting account. Managed hosting means I manage the hosting for you. The admin looks the same in both.
Owners Help and the files for your AI (0:28)
When you log in as an owner, the first thing you see is a welcome and a page with the help you need. Under it are files made for your AI, so the whole site can be managed with AI. You can upload them to your AI and it walks you through what to do, so you are not stuck. If you use Claude, you can connect it directly to your Djangify site so that it can log in, create products and write blog posts for you.
Setup checklist and Shop Setup (1:06)
There is a checklist you can tick off as you go, so you know you have done everything you need to get started. Shop Setup is the important document. It tells your AI what problem you solve, who the people are that you help, the promise you make and the outcomes you promise. With those, your AI has nearly everything it needs to write in your voice. The admin home page suggests telling Claude to read your Shop Setup and apply it, which fills in your site settings for you.
The sidebar (1:30)
I do not go through the whole sidebar in the video, only the more important parts. It is where you manage your site, your orders, your blog posts, your hosted tools and the rest. Each area has its own help video, so you can watch the ones for the parts you are using.
Adding products (1:47)
Everything you sell goes in the products section. You add a new product and work through the form. Once it is saved you can click preview to see it, and anything you change in the admin changes on the live site. You upload your product file there so people can download it, and you can add extra images that show what the buyer gets. Those images and the download details are there for trust, so people understand what they are paying for. If you have a video for the product, you can add it too.
Orders, reviews, coupons and sales stats (2:25)
Below products you find the orders people have placed, any reviews, a one-time offer if you set one up, and any coupons you have given out. The stats section shows how many orders have come in and what has happened on your site, including where people come from and what they click. On the demo these are not real sales. Nobody pays on that site. They are people who registered and went through the process so they could see how it works.
Hosted tools (3:07)
Hosted tools are micro-apps you can sell and also give away for free. There are a few on the demo to try. The Break-even Calculator gives a rough idea, if you are on a free platform, of how many digital products you would have to sell before paying for a tool like Djangify is worth it. They are estimates, so do not take them as gospel. For me the extra reason to pay is that you own your data and your customers' data. Paid tools go straight to a product page where people can buy them, and you can build your own and add them.
Buy a demo product (3:57)
You can come to the demo site, add a product to your cart and buy it. It is not a real purchase and no money is taken. The checkout page tells you which test card to use. You will see the whole process your own customers go through when they buy a digital product from your site.
Blog posts (4:07)
Blogs are still vitally important. They help with search engine optimization and organic traffic, and they show that you know what you are talking about. Djangify is for subject matter experts, so people naturally want to add content to their blog. When you view a post while logged in, messages at the top tell you that you are looking in draft mode, and you can click through to edit the article without going back into the admin to find it. Several of these messages exist because beta testers asked me to add them.
Policies (4:40)
Every digital product site needs policies. They are added in draft mode with a big message telling you to update your policy. When you do, visitors get a clear list of everything they need to know.
Help videos and documentation (4:59)
That is the main tour of the admin. There are help videos and full documentation for each area, and you can give all of it to your AI.
Why I built it (5:11)
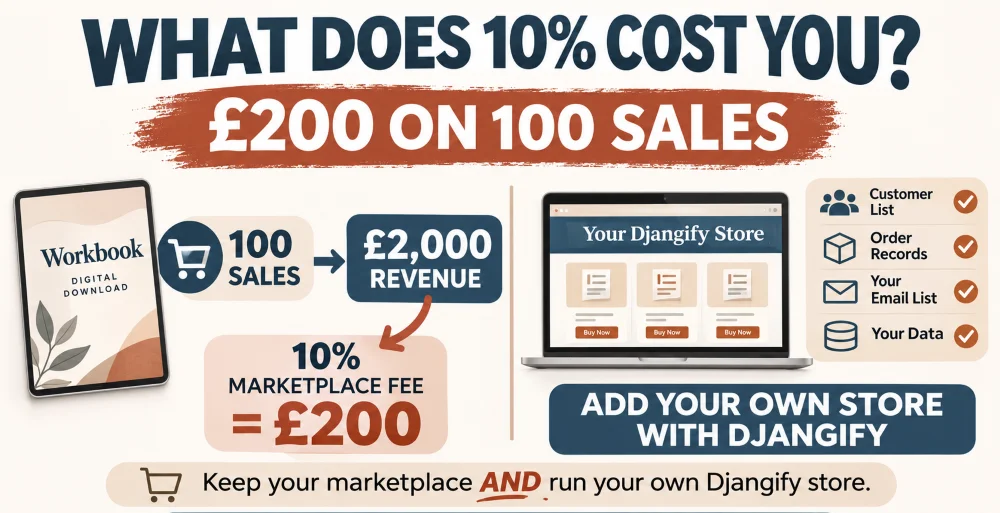
I use this for my own sites. I set it up so that I can sell my digital products without relying on a marketplace, so I am an independent digital business owner. It would be great to have some people join me. If you want to try it first, you can use the demo or go straight to www.djangify.com and register. I am happy to help anyone who wants to join, and your AI can answer your questions too.
Try the demo and click around the admin: https://demo.djangify.com